User guide
Introduction
Django expense has two types of user interface, one is integrated into the Django’s admin interface and the other is a custom one designed to the simplest as possible to be able to use it with mobile devices.
Admin site
When you finished installation, django-expense will appear on your Django admin site. From the admin menu you can edit three types of entities:
- Type: These are the Expense basic types such as income, outcome, savings etc... or you can use as bank account as well.
- Categories: These are the sub-categories under each type such as outcome/household, etc...
- Expenses: These are the expense items.
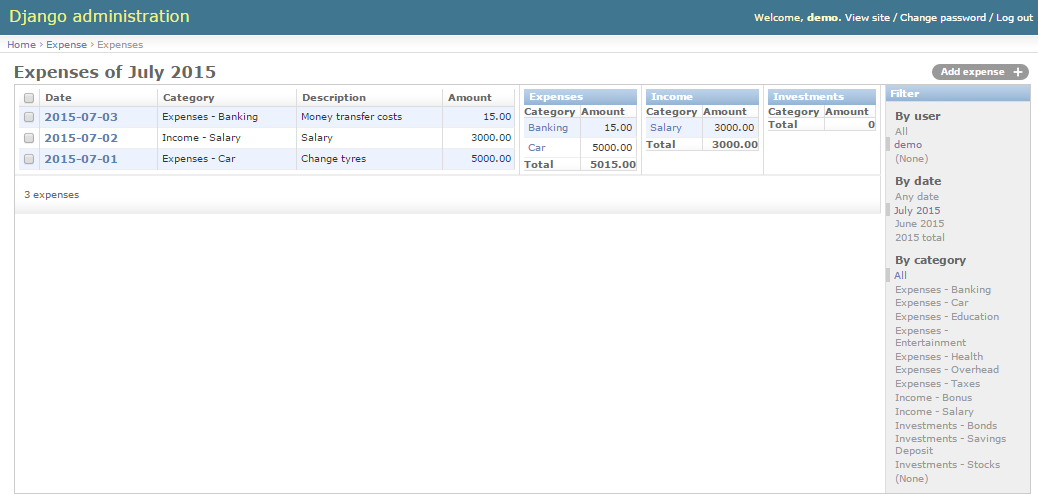
Main screen, expense list
The Expense change_list view is extended by a simple report, this page by default shows your expenses for the current month and summarizes your items by categories. Using the filters of the right hand side you can change the default filter expressions. You can filter the list by:
- Users: Individual user or all.
- Date: Month, year, all time.
- Category
The following figure shows the main screen of the application:
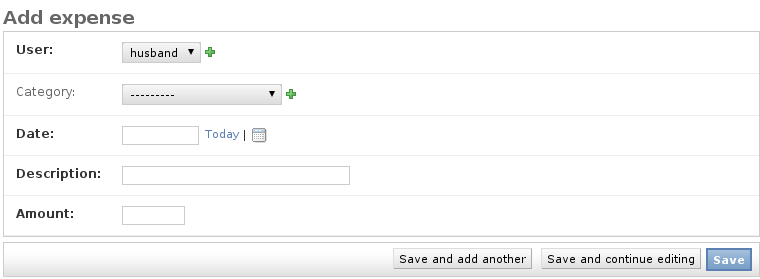
Add expense screen
Expenses can be added on this screen. The user field is defaulted with the currently logged on one, otherwise it is a default django admin screen.
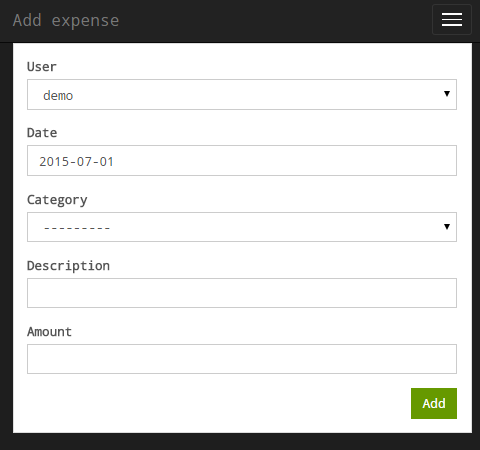
Custom/Mobile interface
The custom interface is based on a Bootstrap desing, especially on the Holo theme.
It supports the following views:
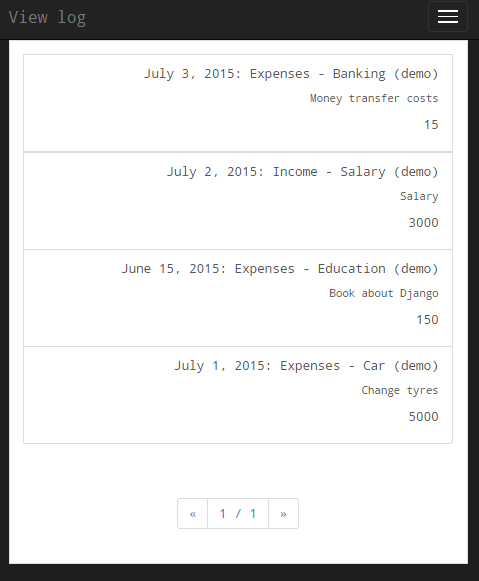
Monthly report
Summarized monthly report. The displayed data is filtered by the actual month and aggregated by categories.
There is navigation bar on the bottom of the page to select other months.
